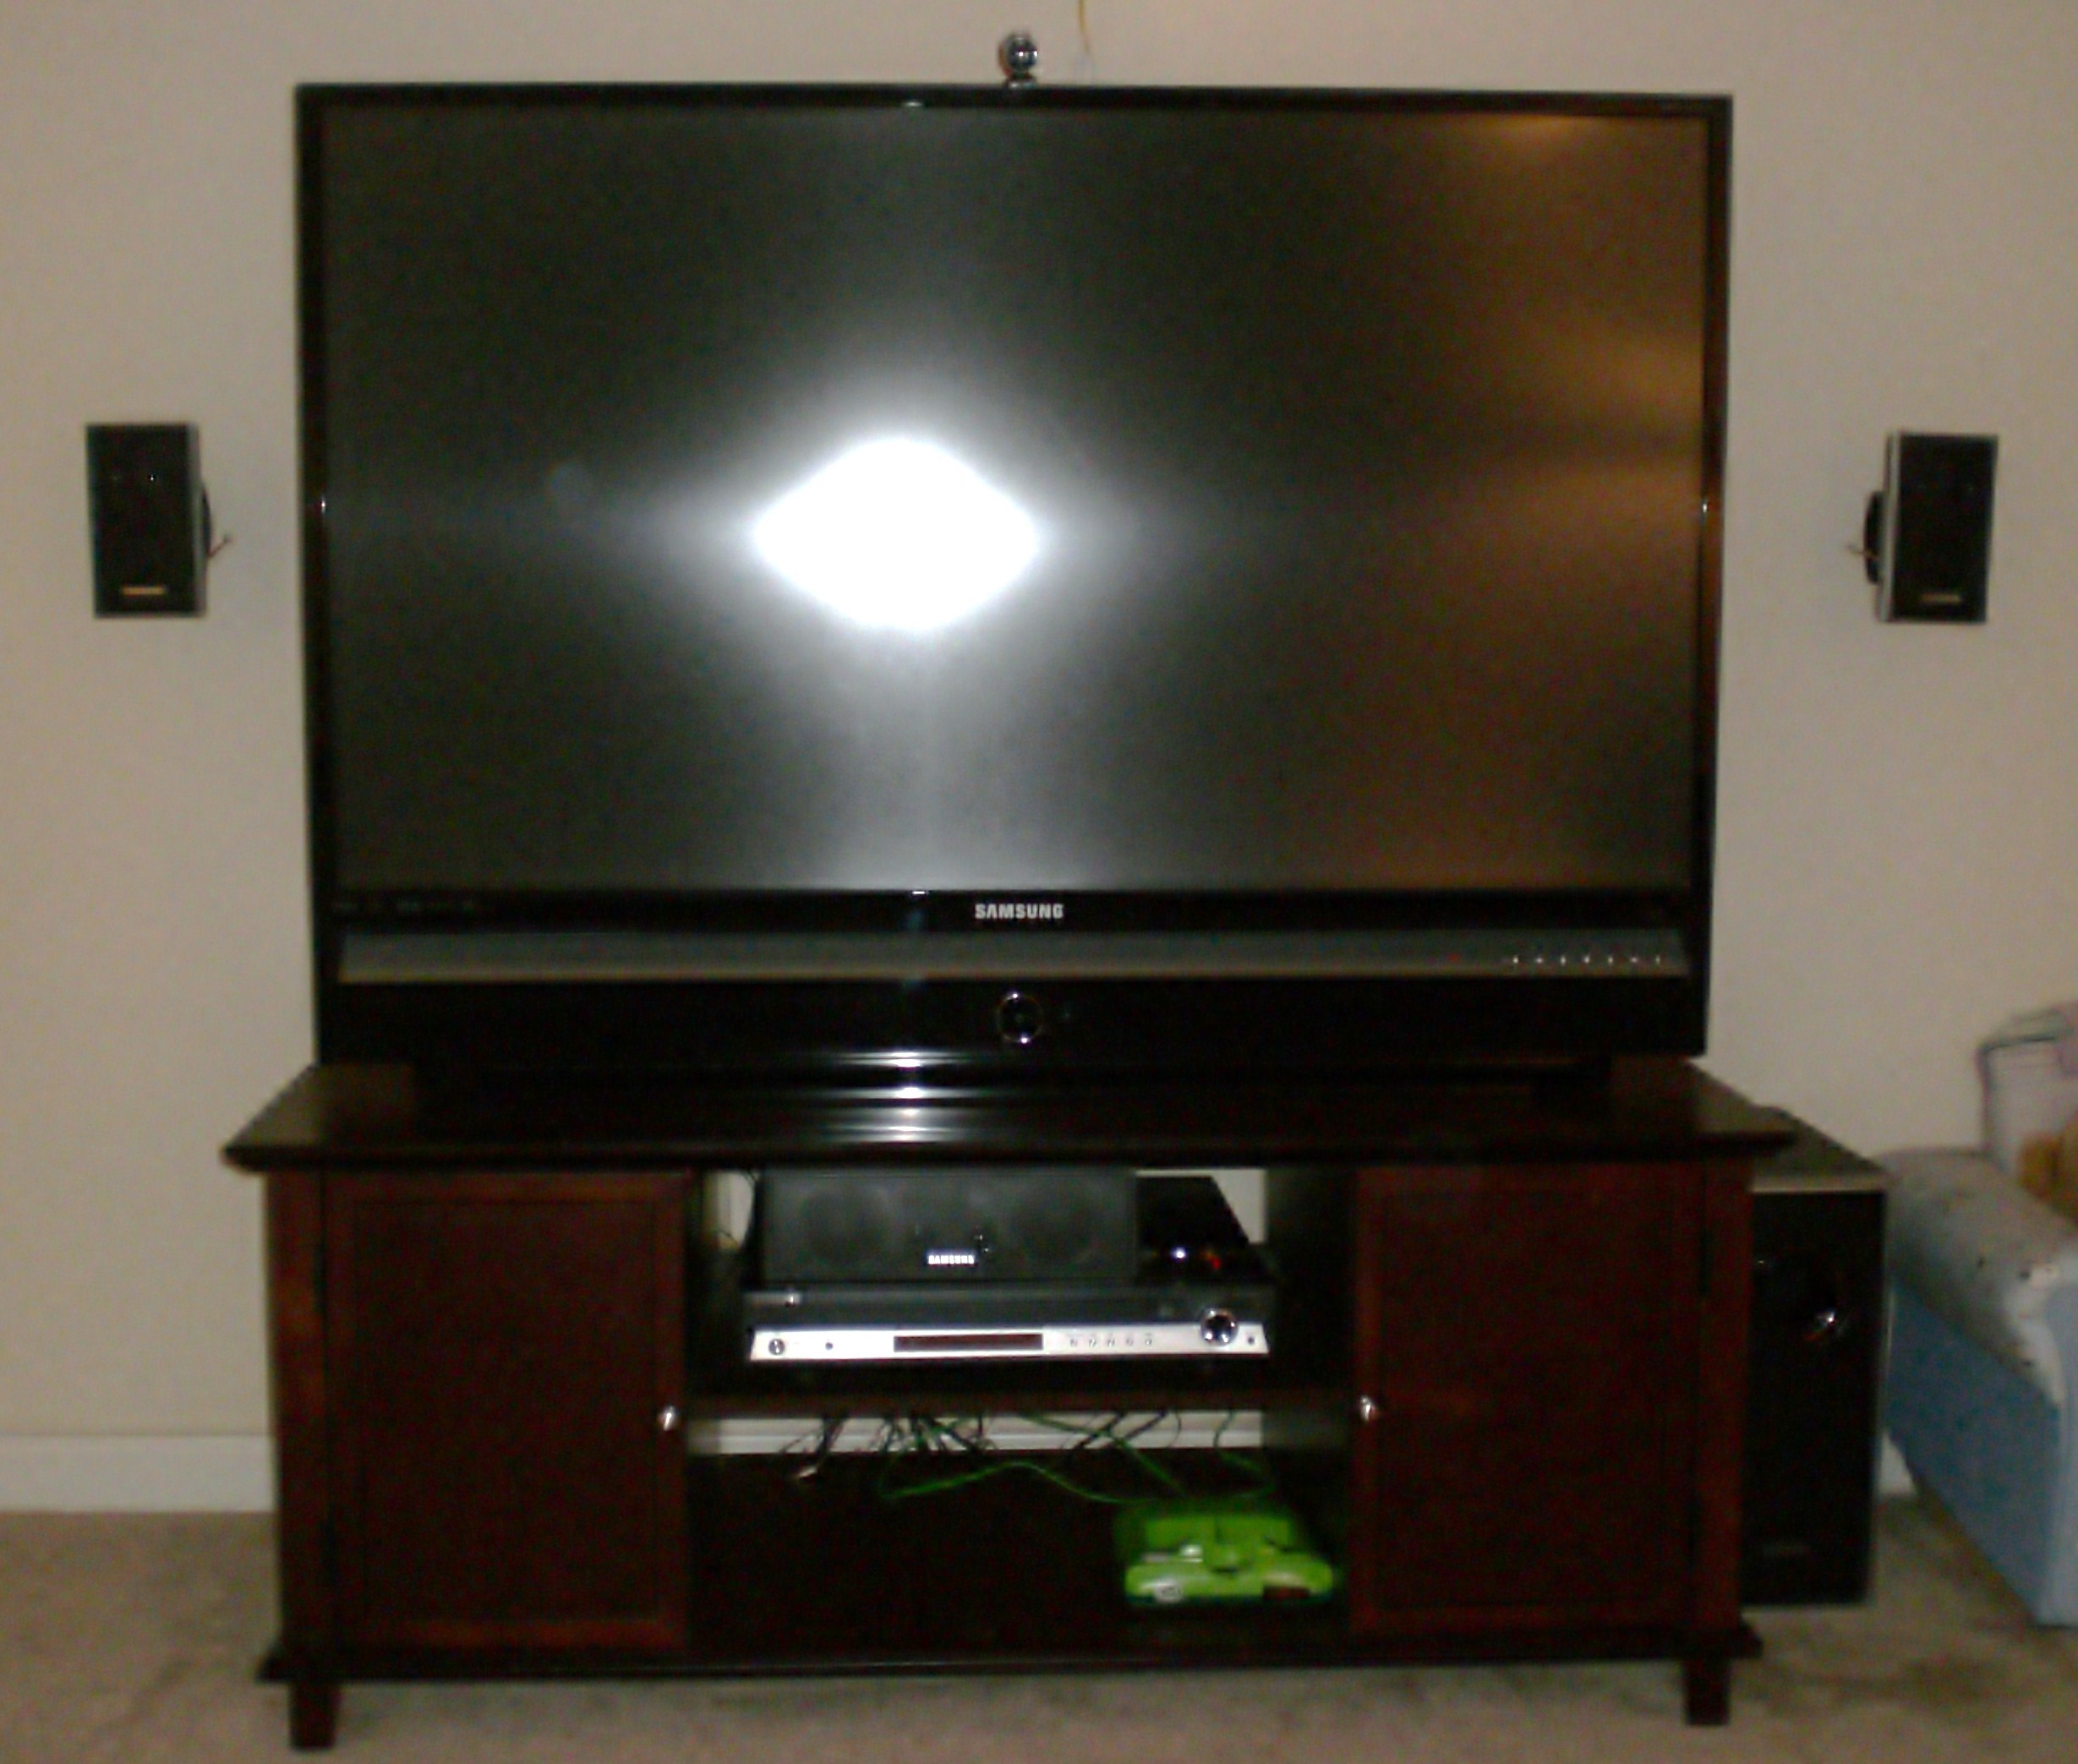
 My wife and I love our gadgets, technology, and toys but it’s even cooler when they can be hidden out of site. Why? Because most of the time they are ugly, bulky, and rather unsightly. While you can’t always hide a TV, you can hide the DVD player, a receiver, or in our case, the Home Theater PC.
This is the story of how we built our new Home Theater PC (HTPC) and for this project we had three simple goals:
- It must be completely hidden from sight with the exception of an IR interface, if needed
- It must be able of playing BluRay, DVD, and other media over the network and internet (no optical drive)
- Must play and record over the air TV (ATSC)
Bill of Materials
With these requirements we used this set of hardware for our HTPC (with costs):
| Motherboard | GIGABYTE GA-MA785GM-US2H Motherboard | $70 |
| Processor | AMD Athlon II X2 240 Regor 2.8GHz Socket AM3 65W Dual-Core | $57 |
| Memory | A-DATA 2GB (2 x 1GB) 240-Pin DDR2 SDRAM DDR2 800 (PC2 6400) | $40 |
| Hard Drive | Western Digital Caviar Blue WD1600AAJS 160GB | Recycled |
| Power Supply | ASUS 380W ATX | Recycled |
| Cooling | ASUS 120mm 3 Speed Fan | Recycled |
| Remote Control | Ortek VRC-1100 | $15 |
| TV Tuner | SiliconDust HDHomeRun HDHR-US Dual Networked High Definition Digital Television | $125 |
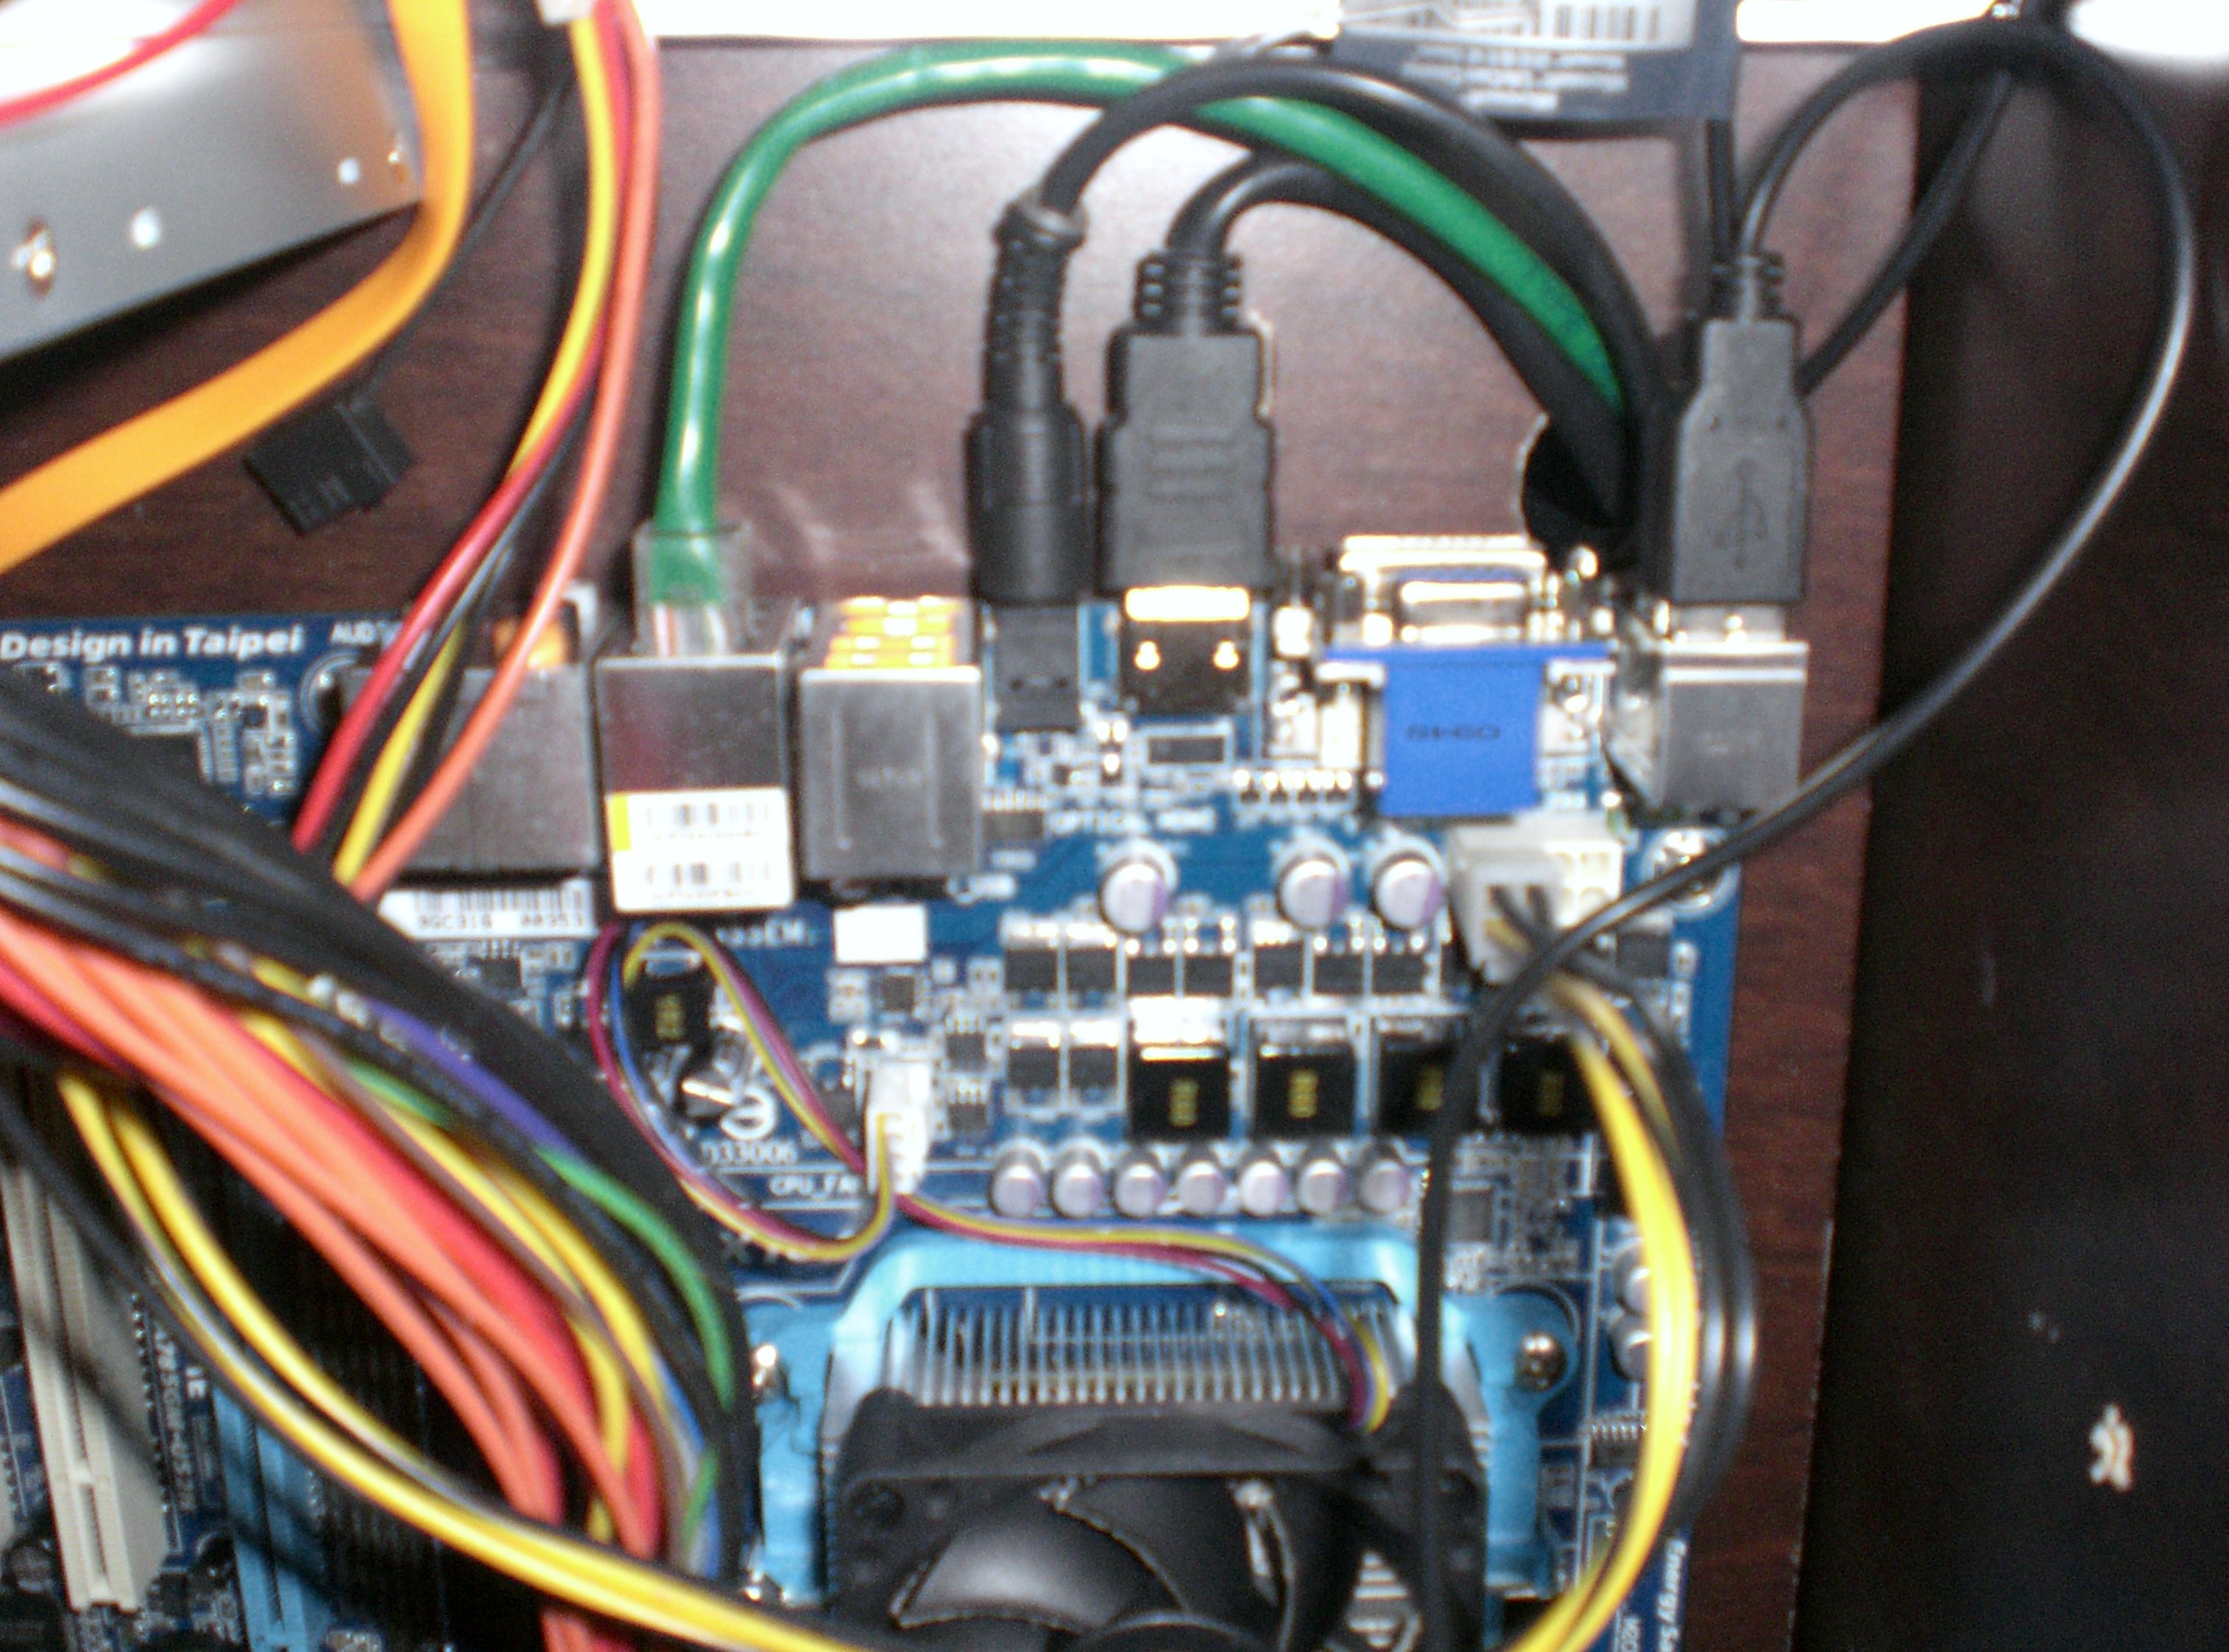
Notes: We chose a AMD solution to keep costs down and chose the GA-MA785GM-US2H for the built in video which provided HDMI and optical out audio ports. The SiliconDust tuner was chosen because it is an IP tuner and could be placed somewhere else in the house and not in the HTPC. A bonus to the tuner being network based is we can also watch live TV on any PC in the house.
Installation
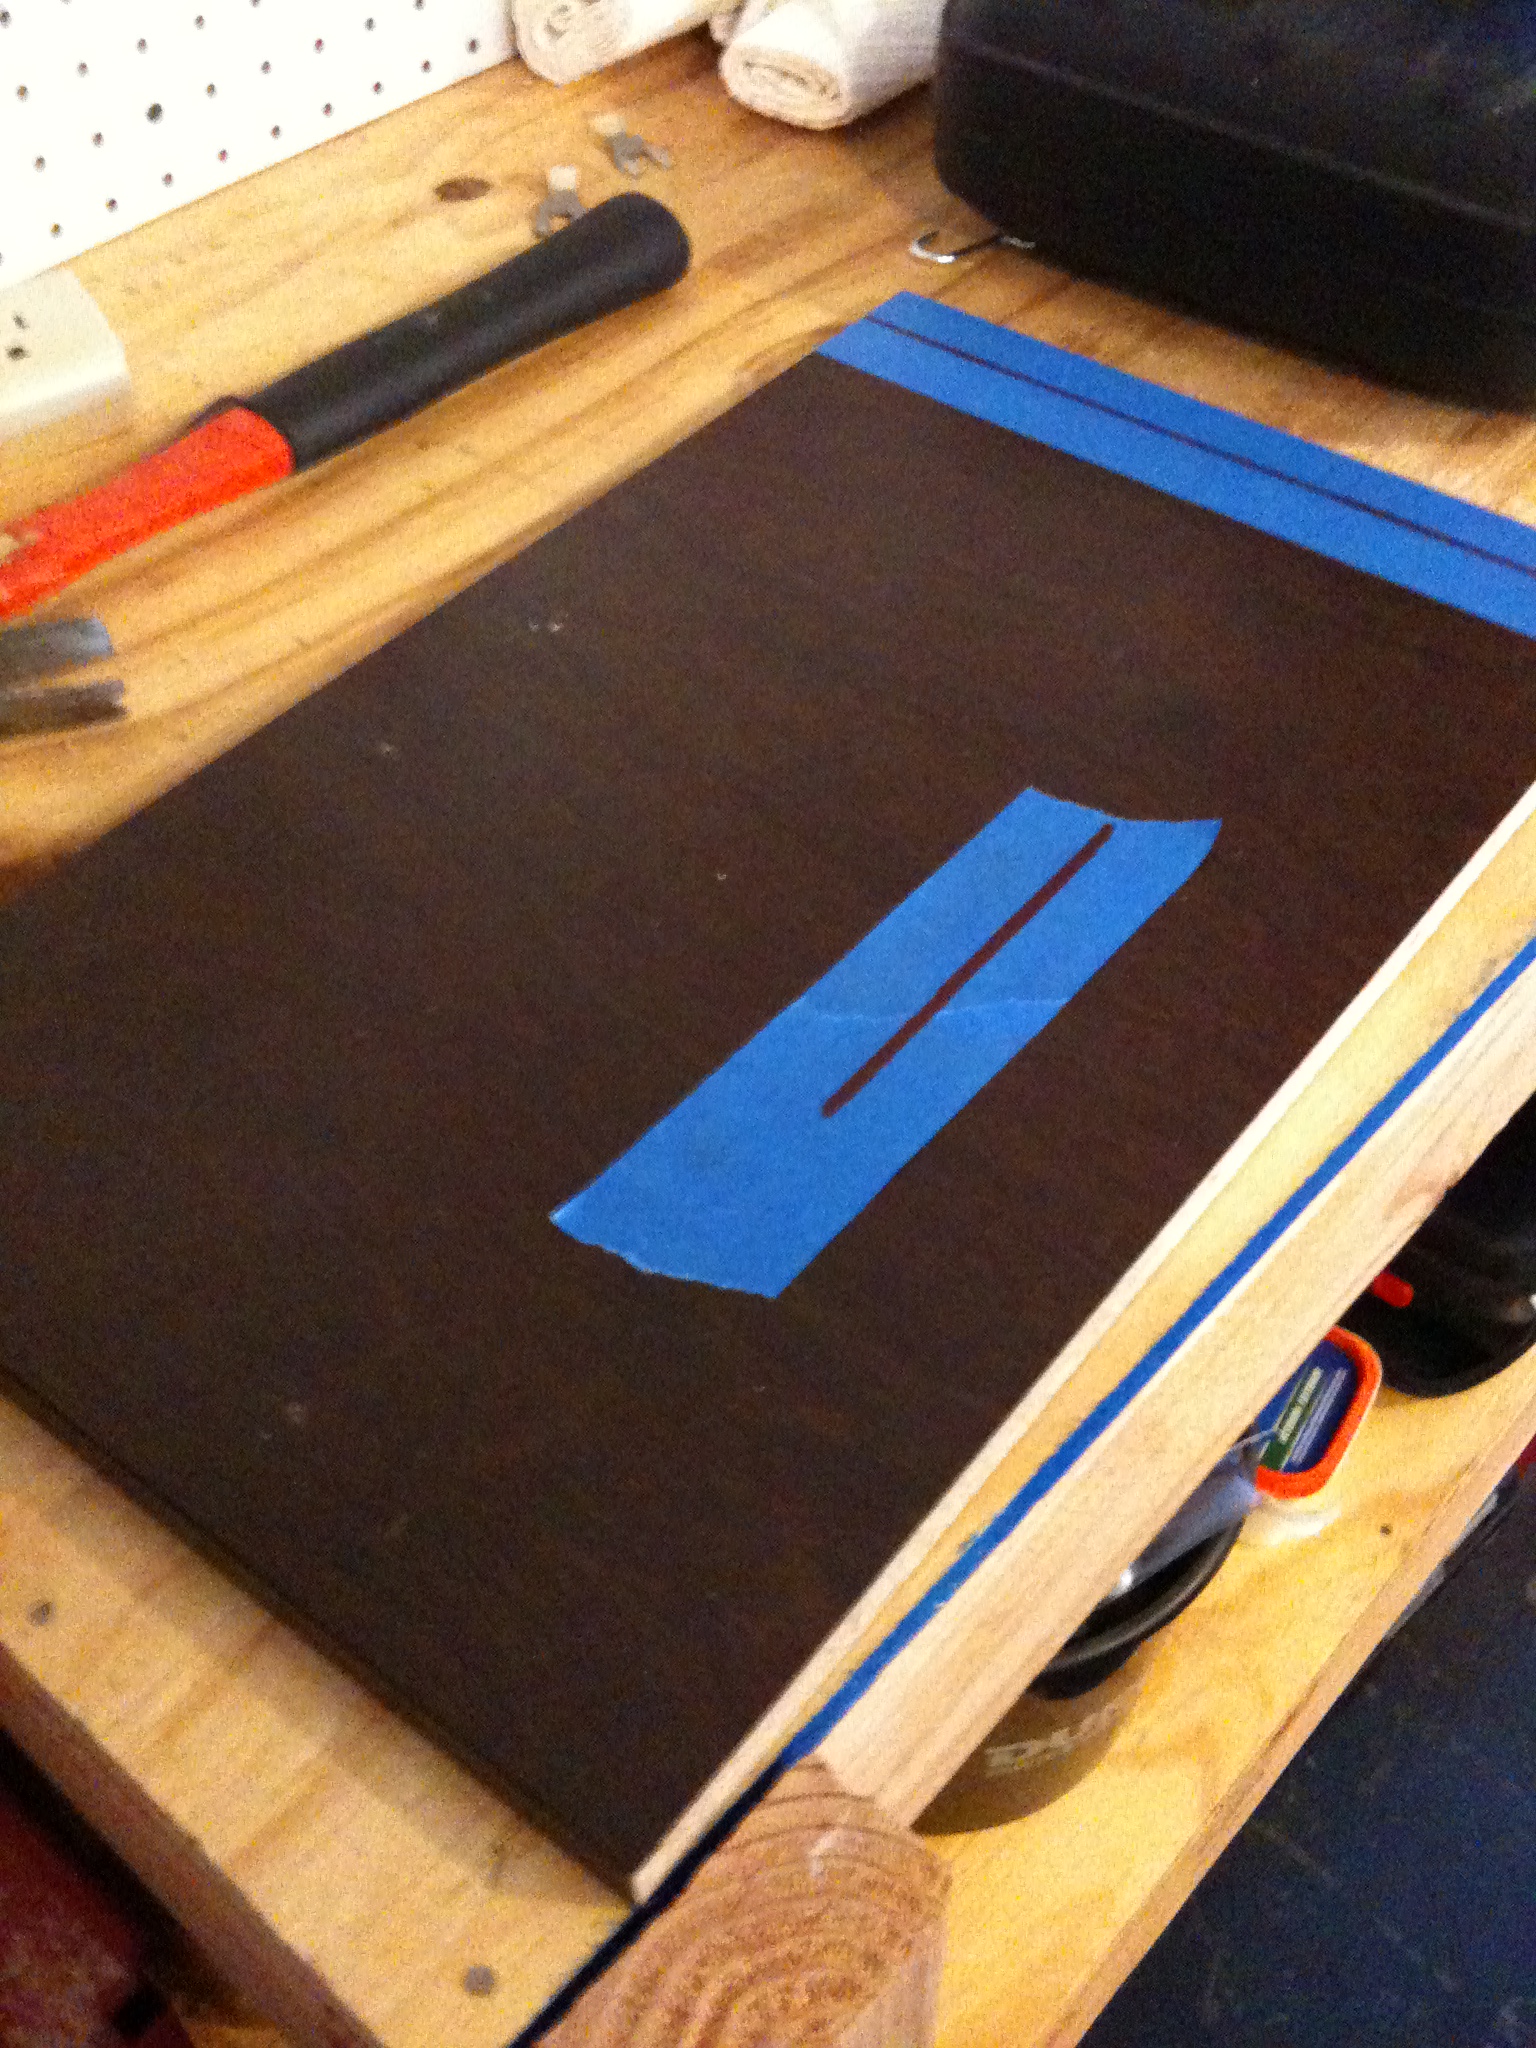
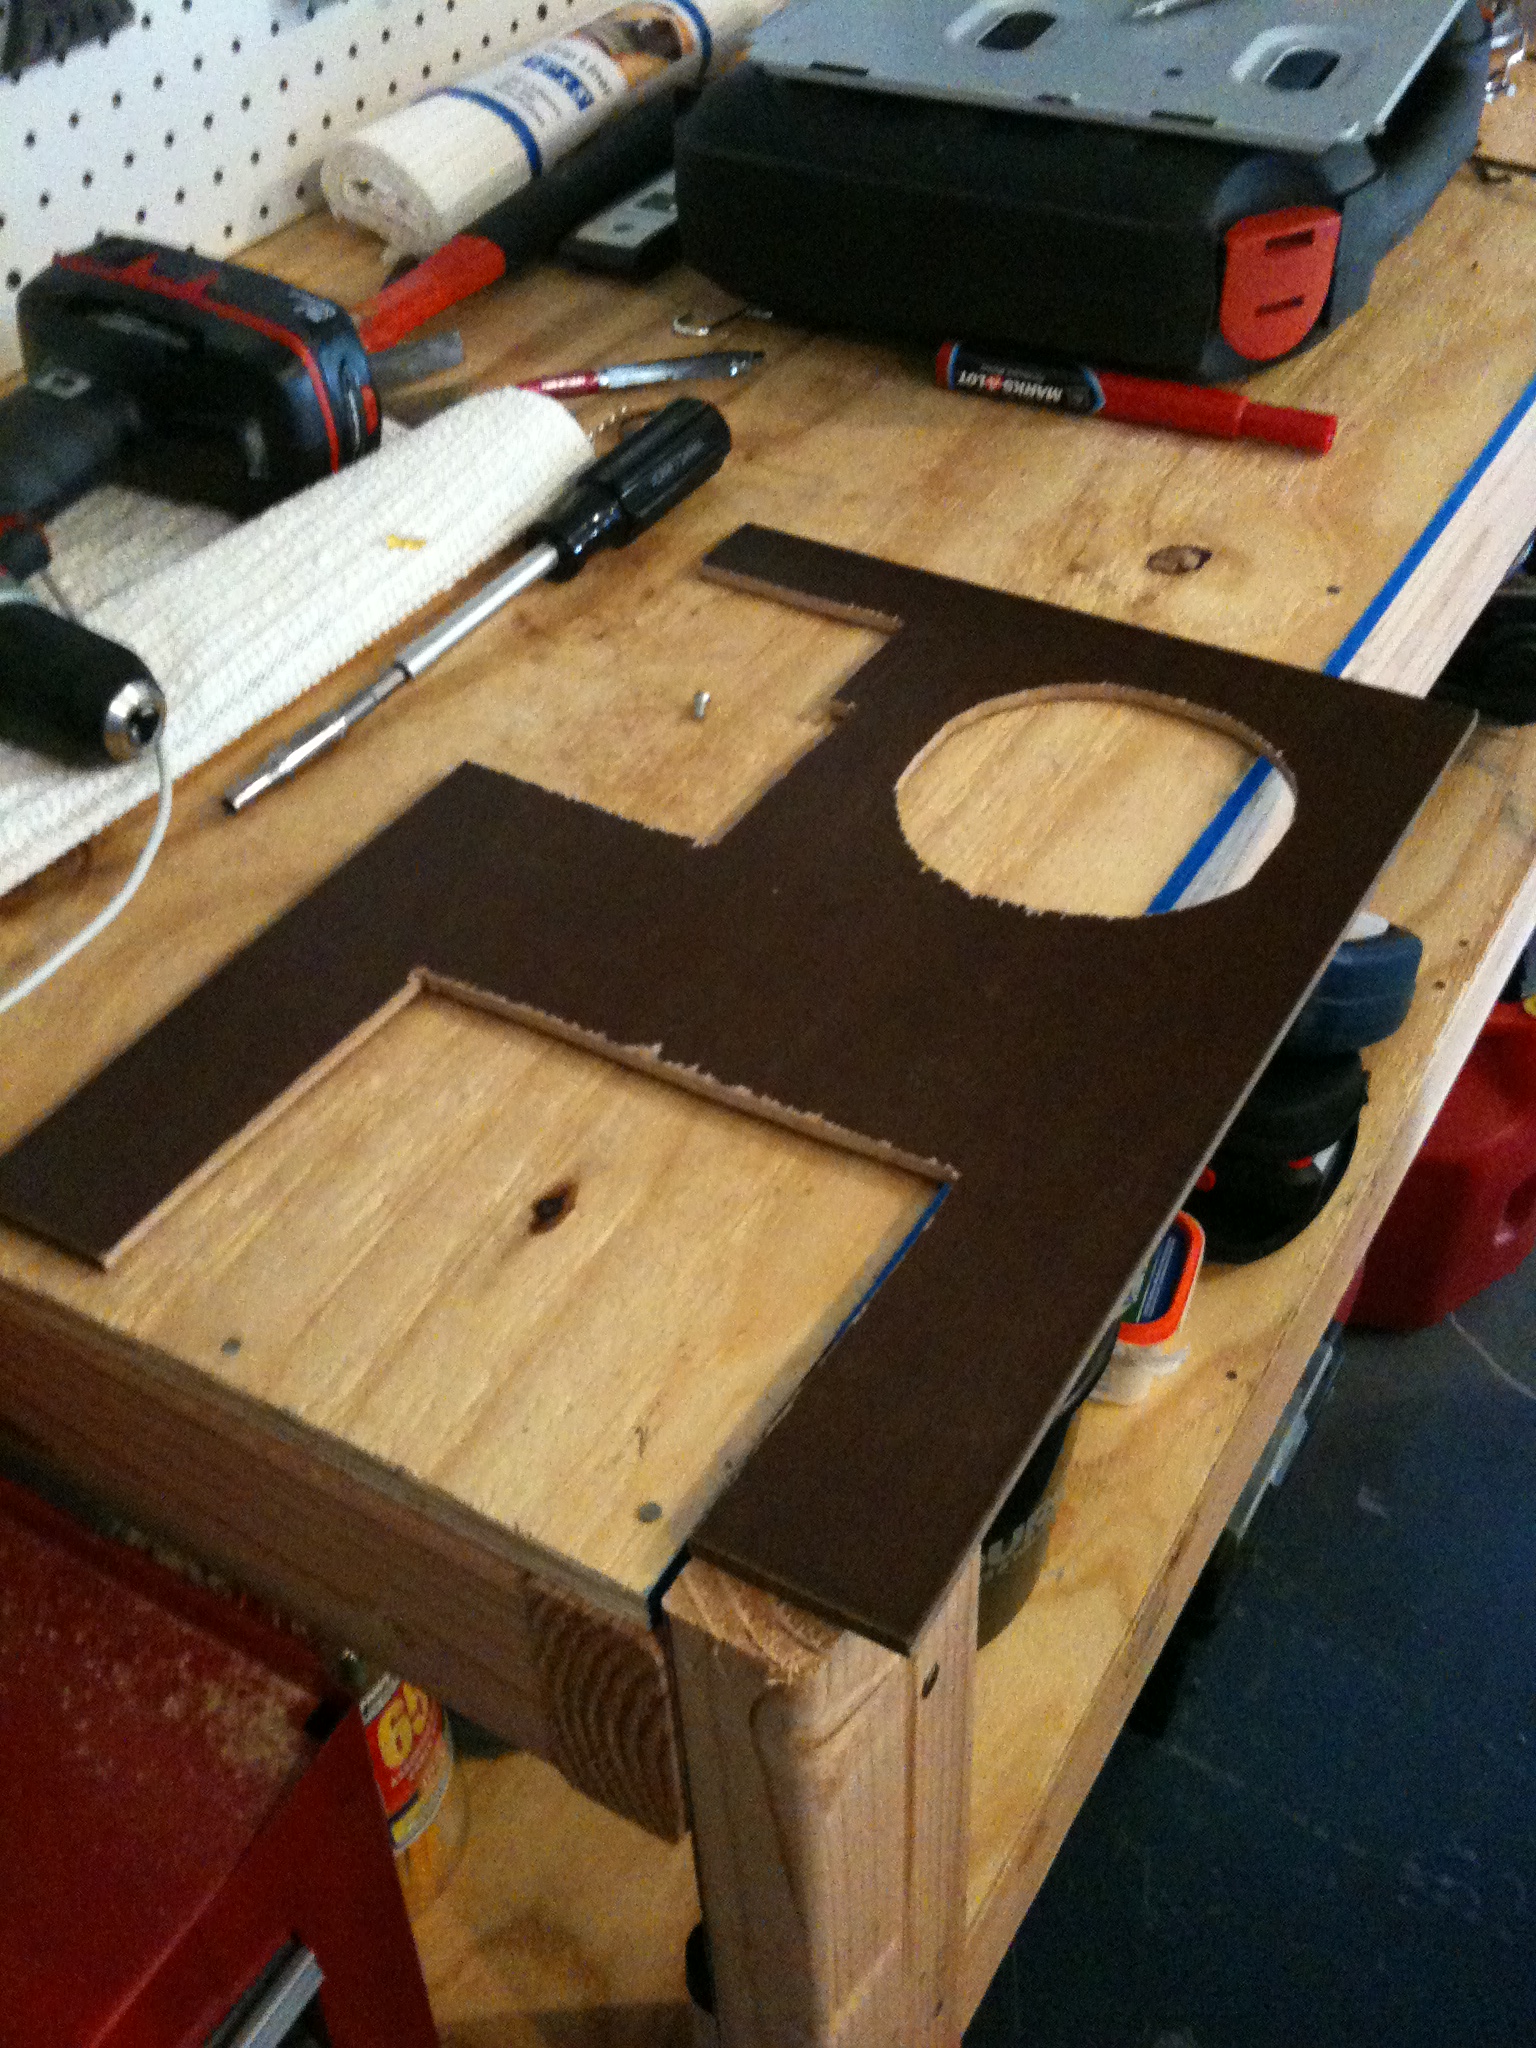
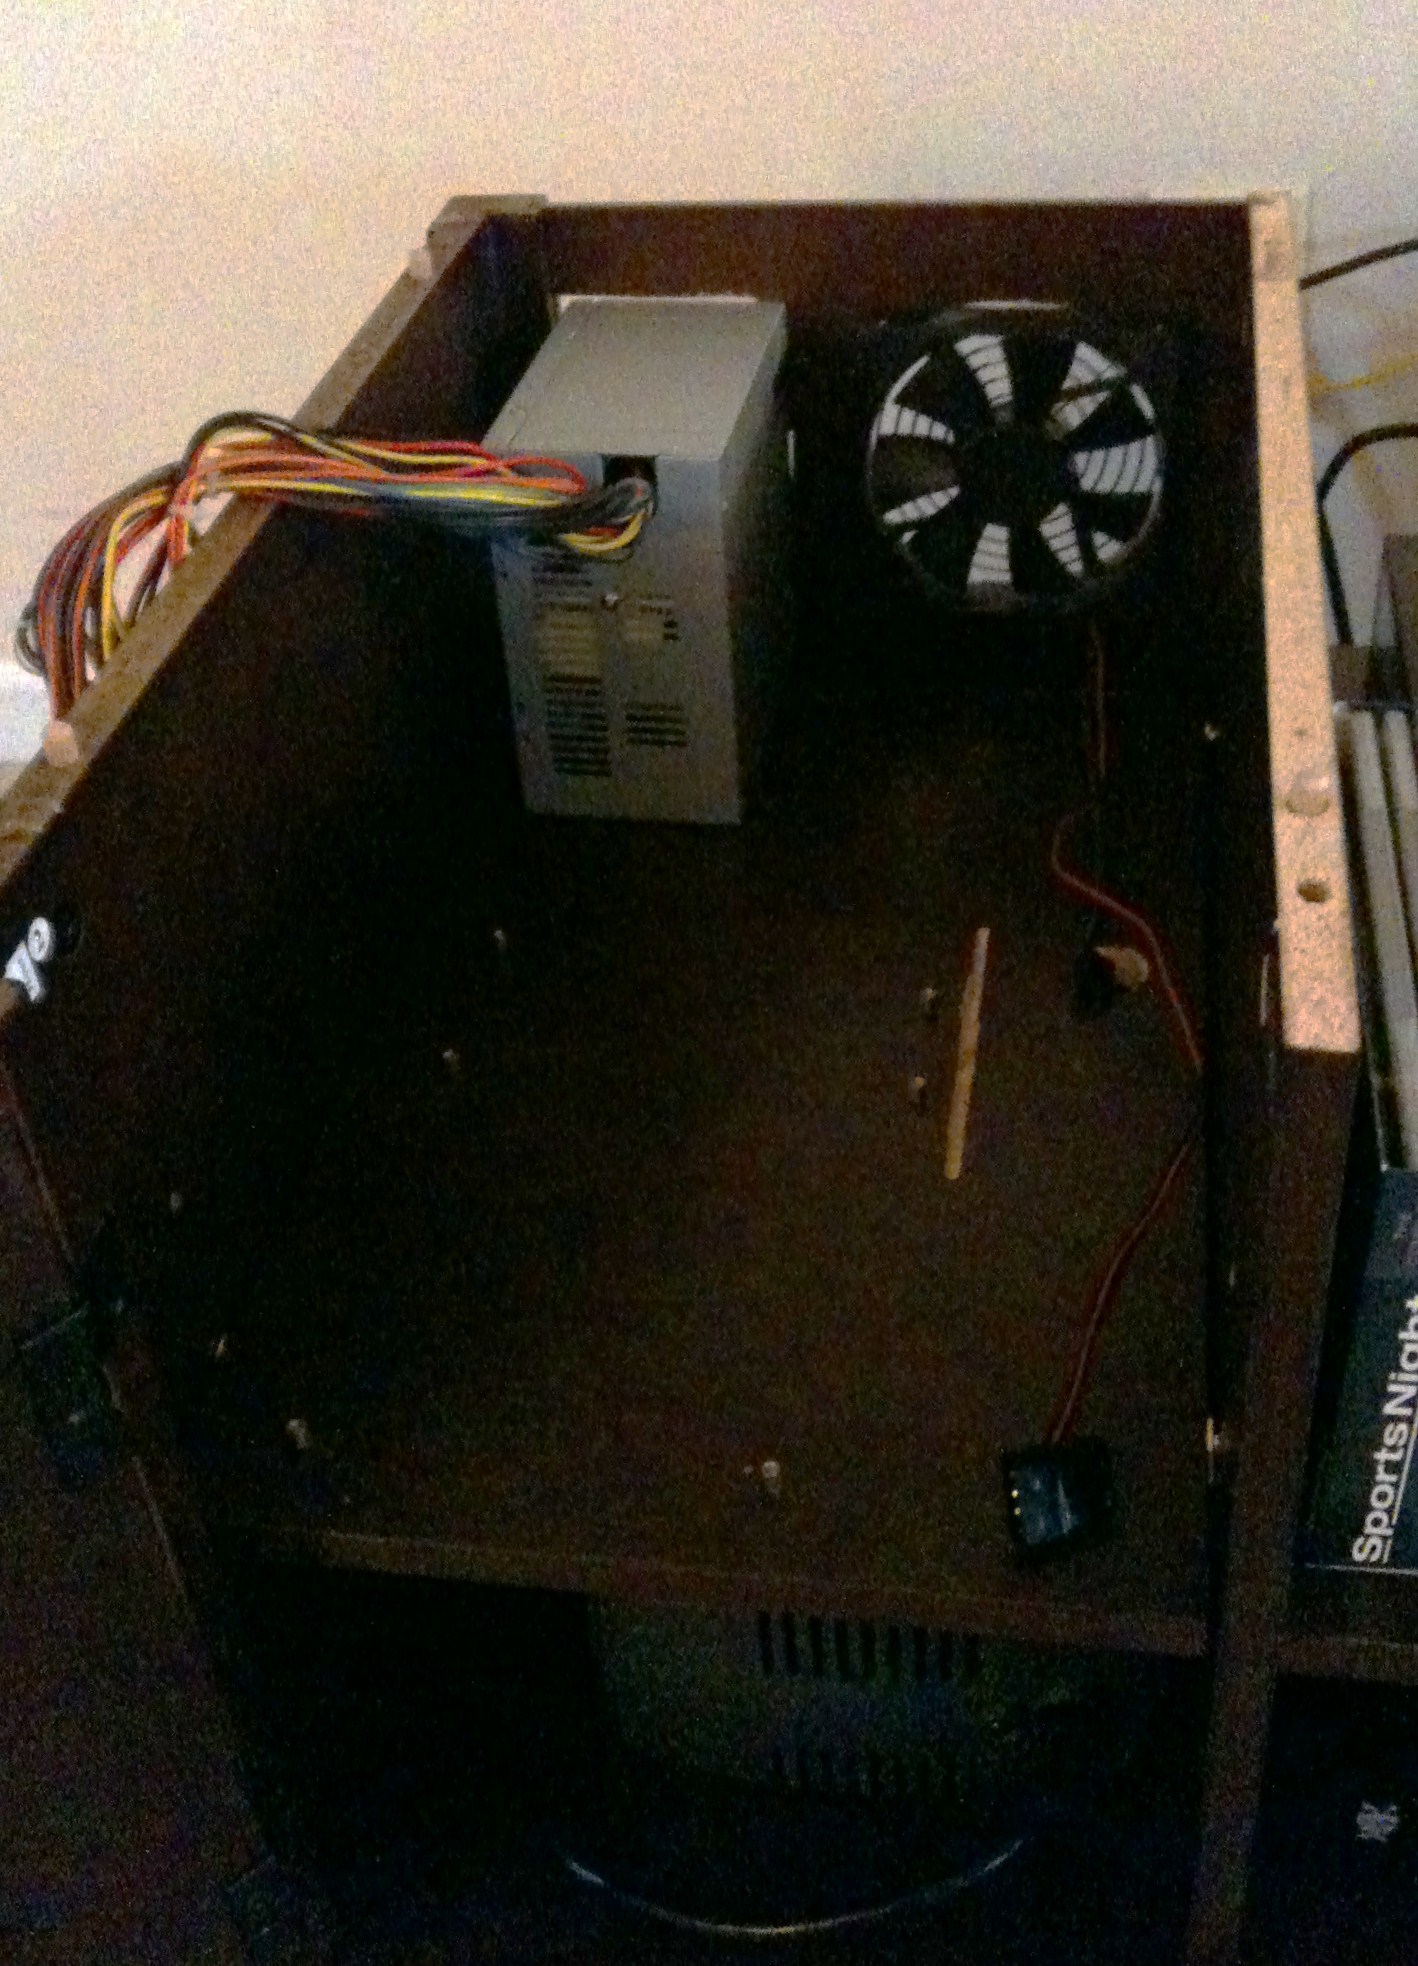
In order to hide the HTPC, we decided to mount all the components inside the TV stand. So I ripped it apart and made the modifications necessary to mount the all parts inside securely. This included removing one of the shelves and the back of the cabinet.
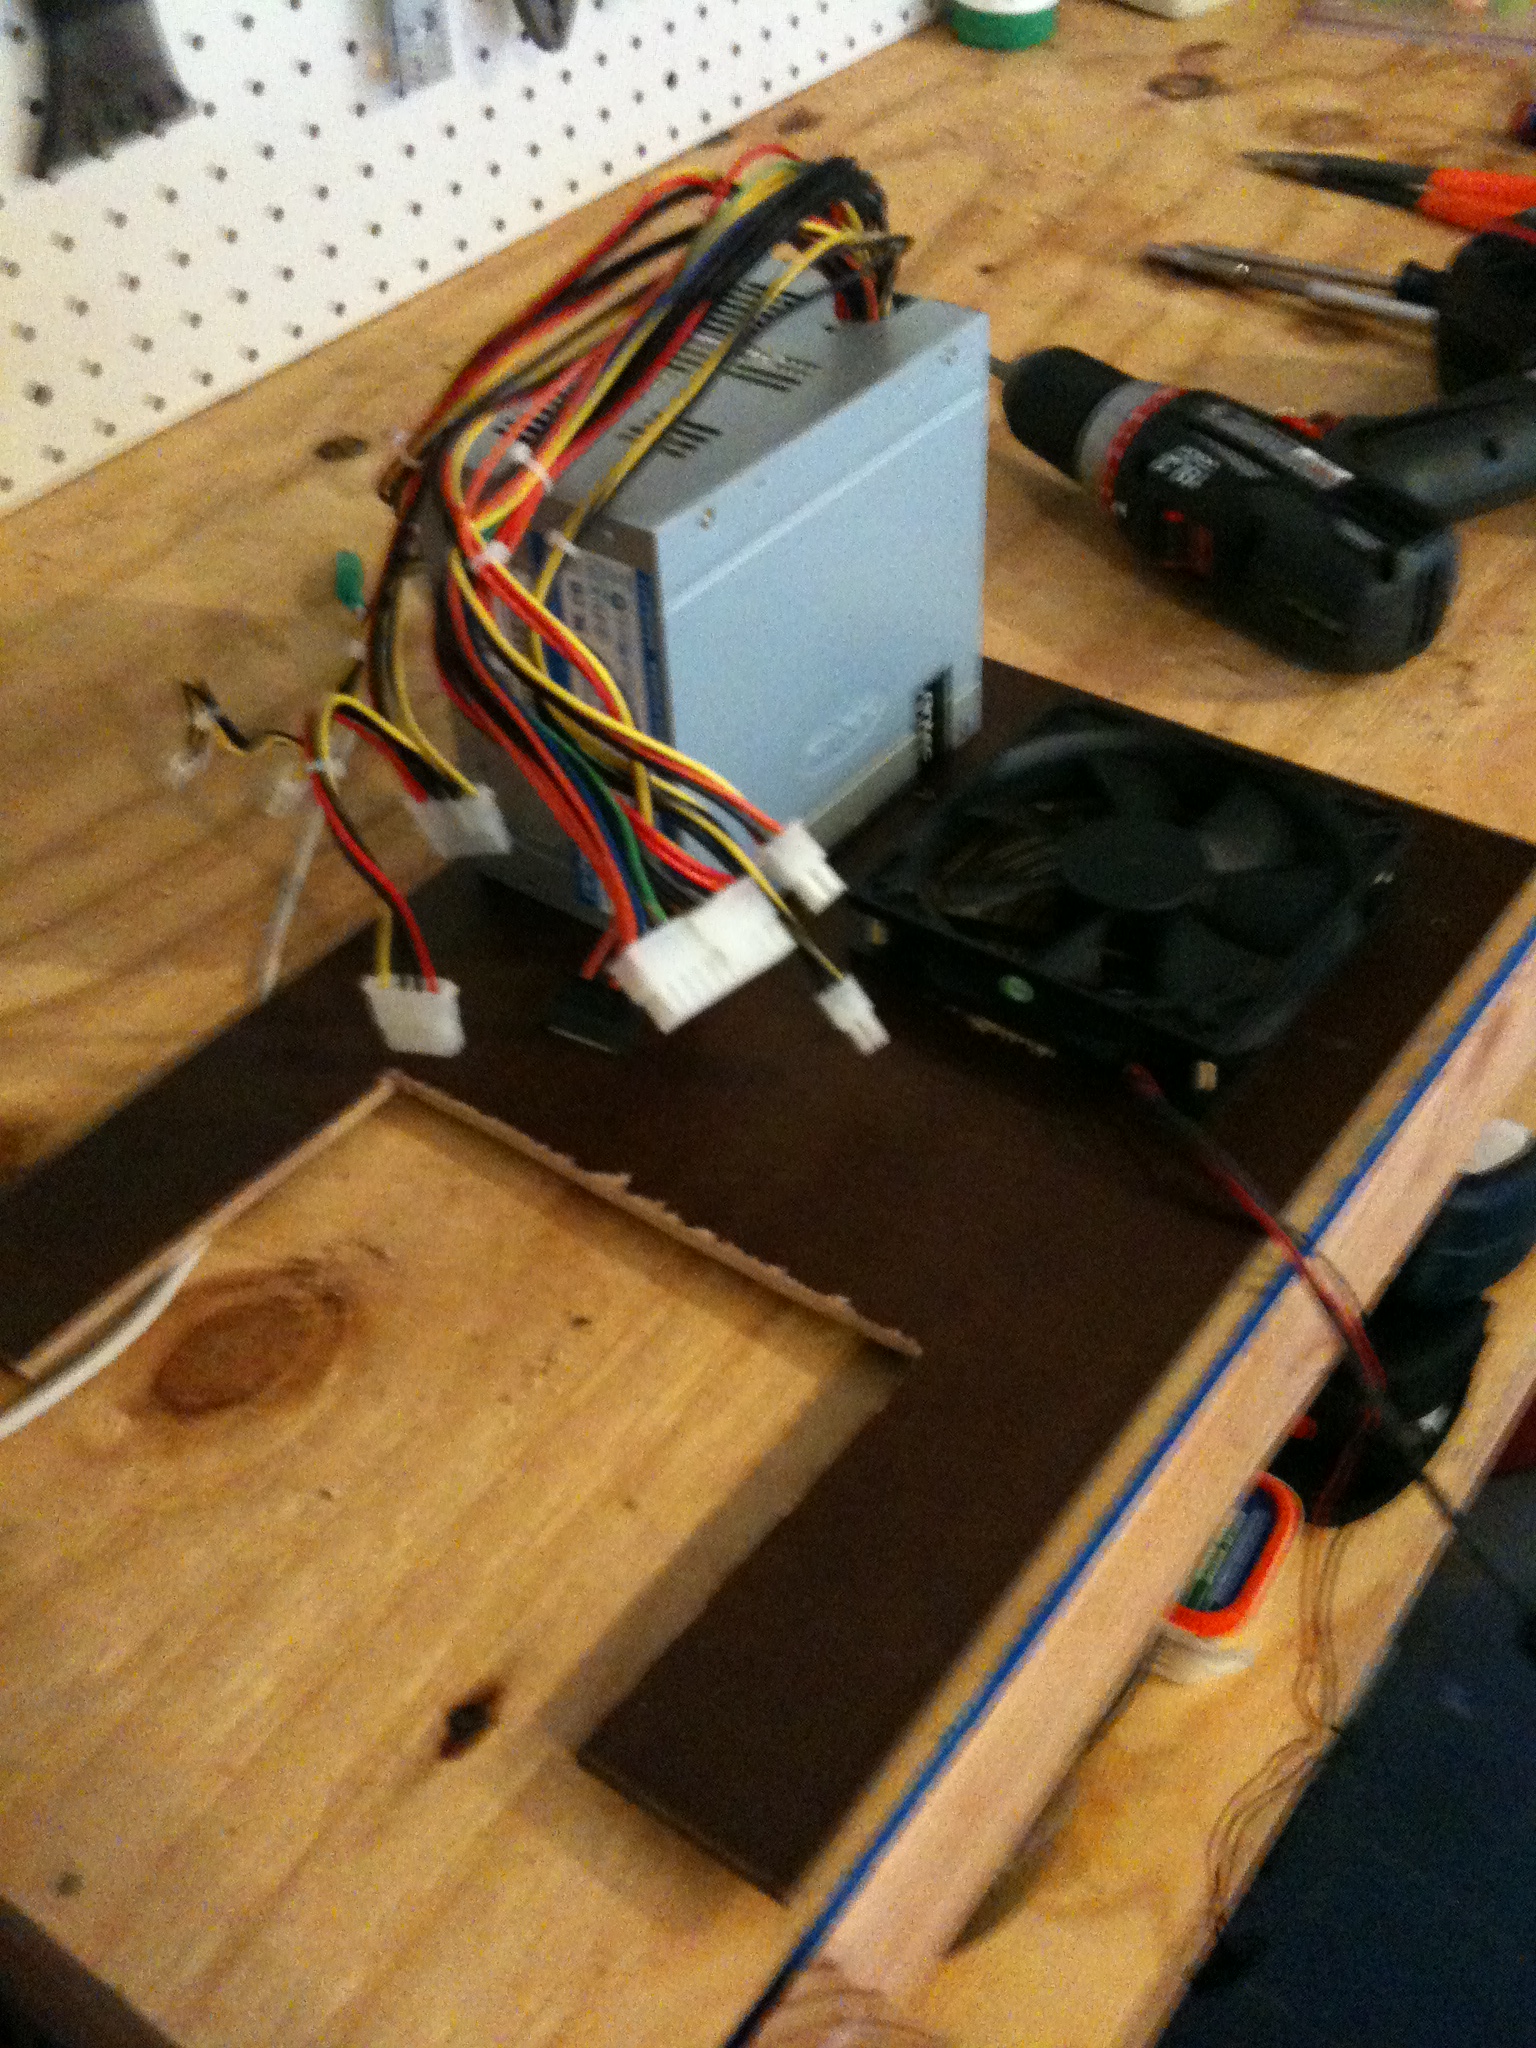
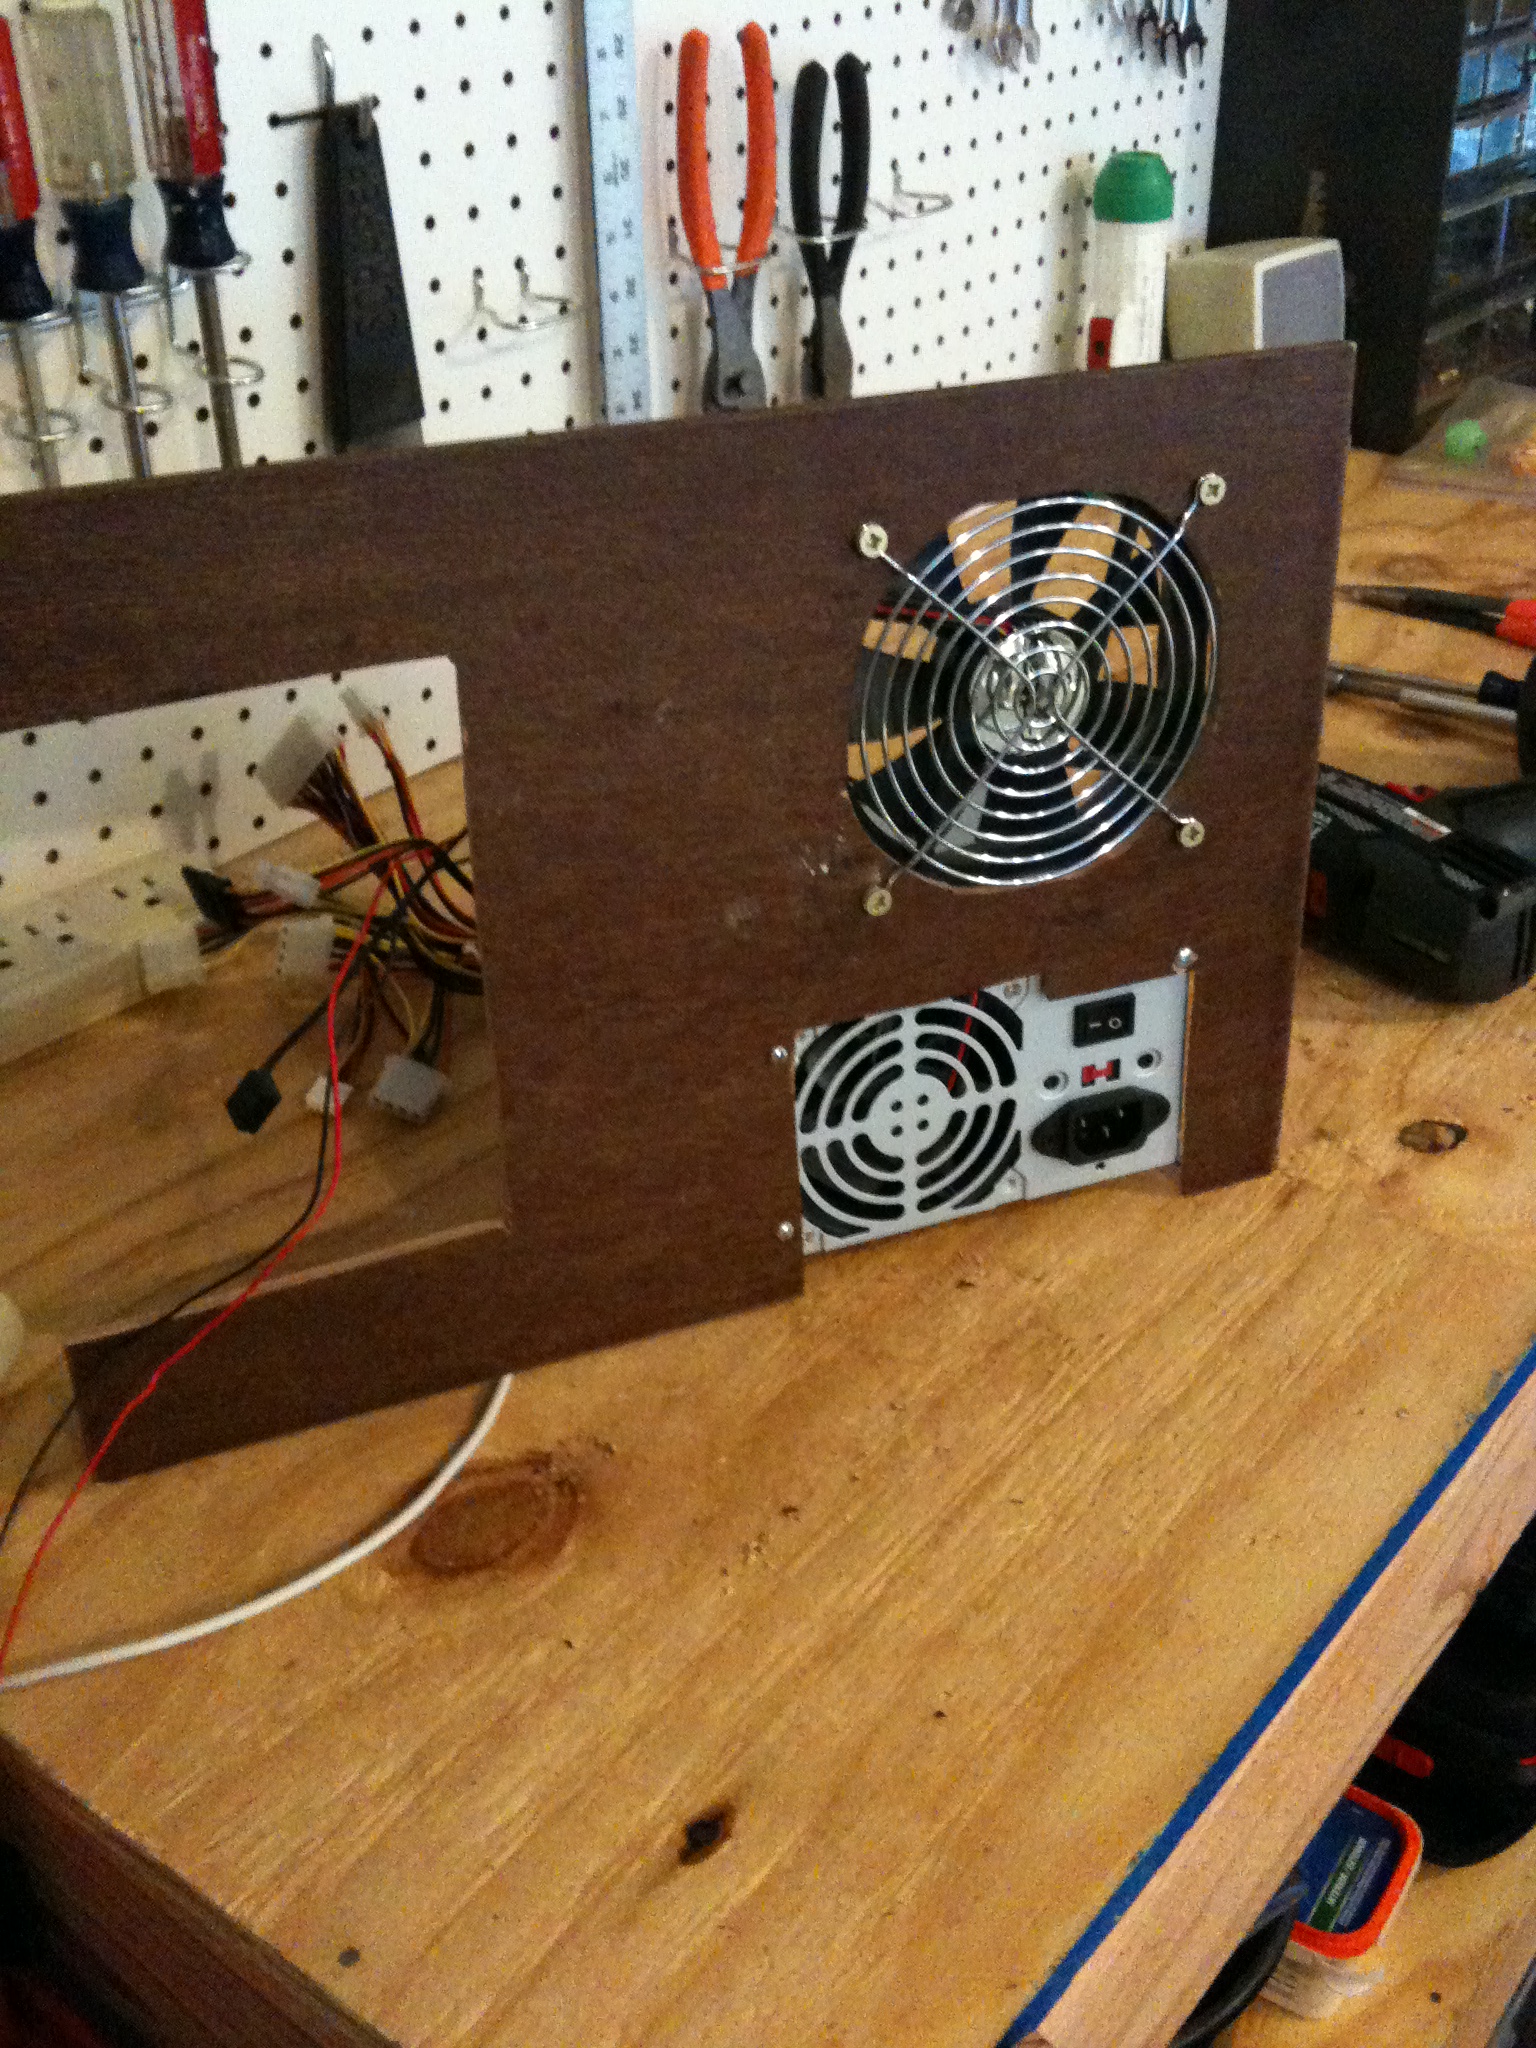
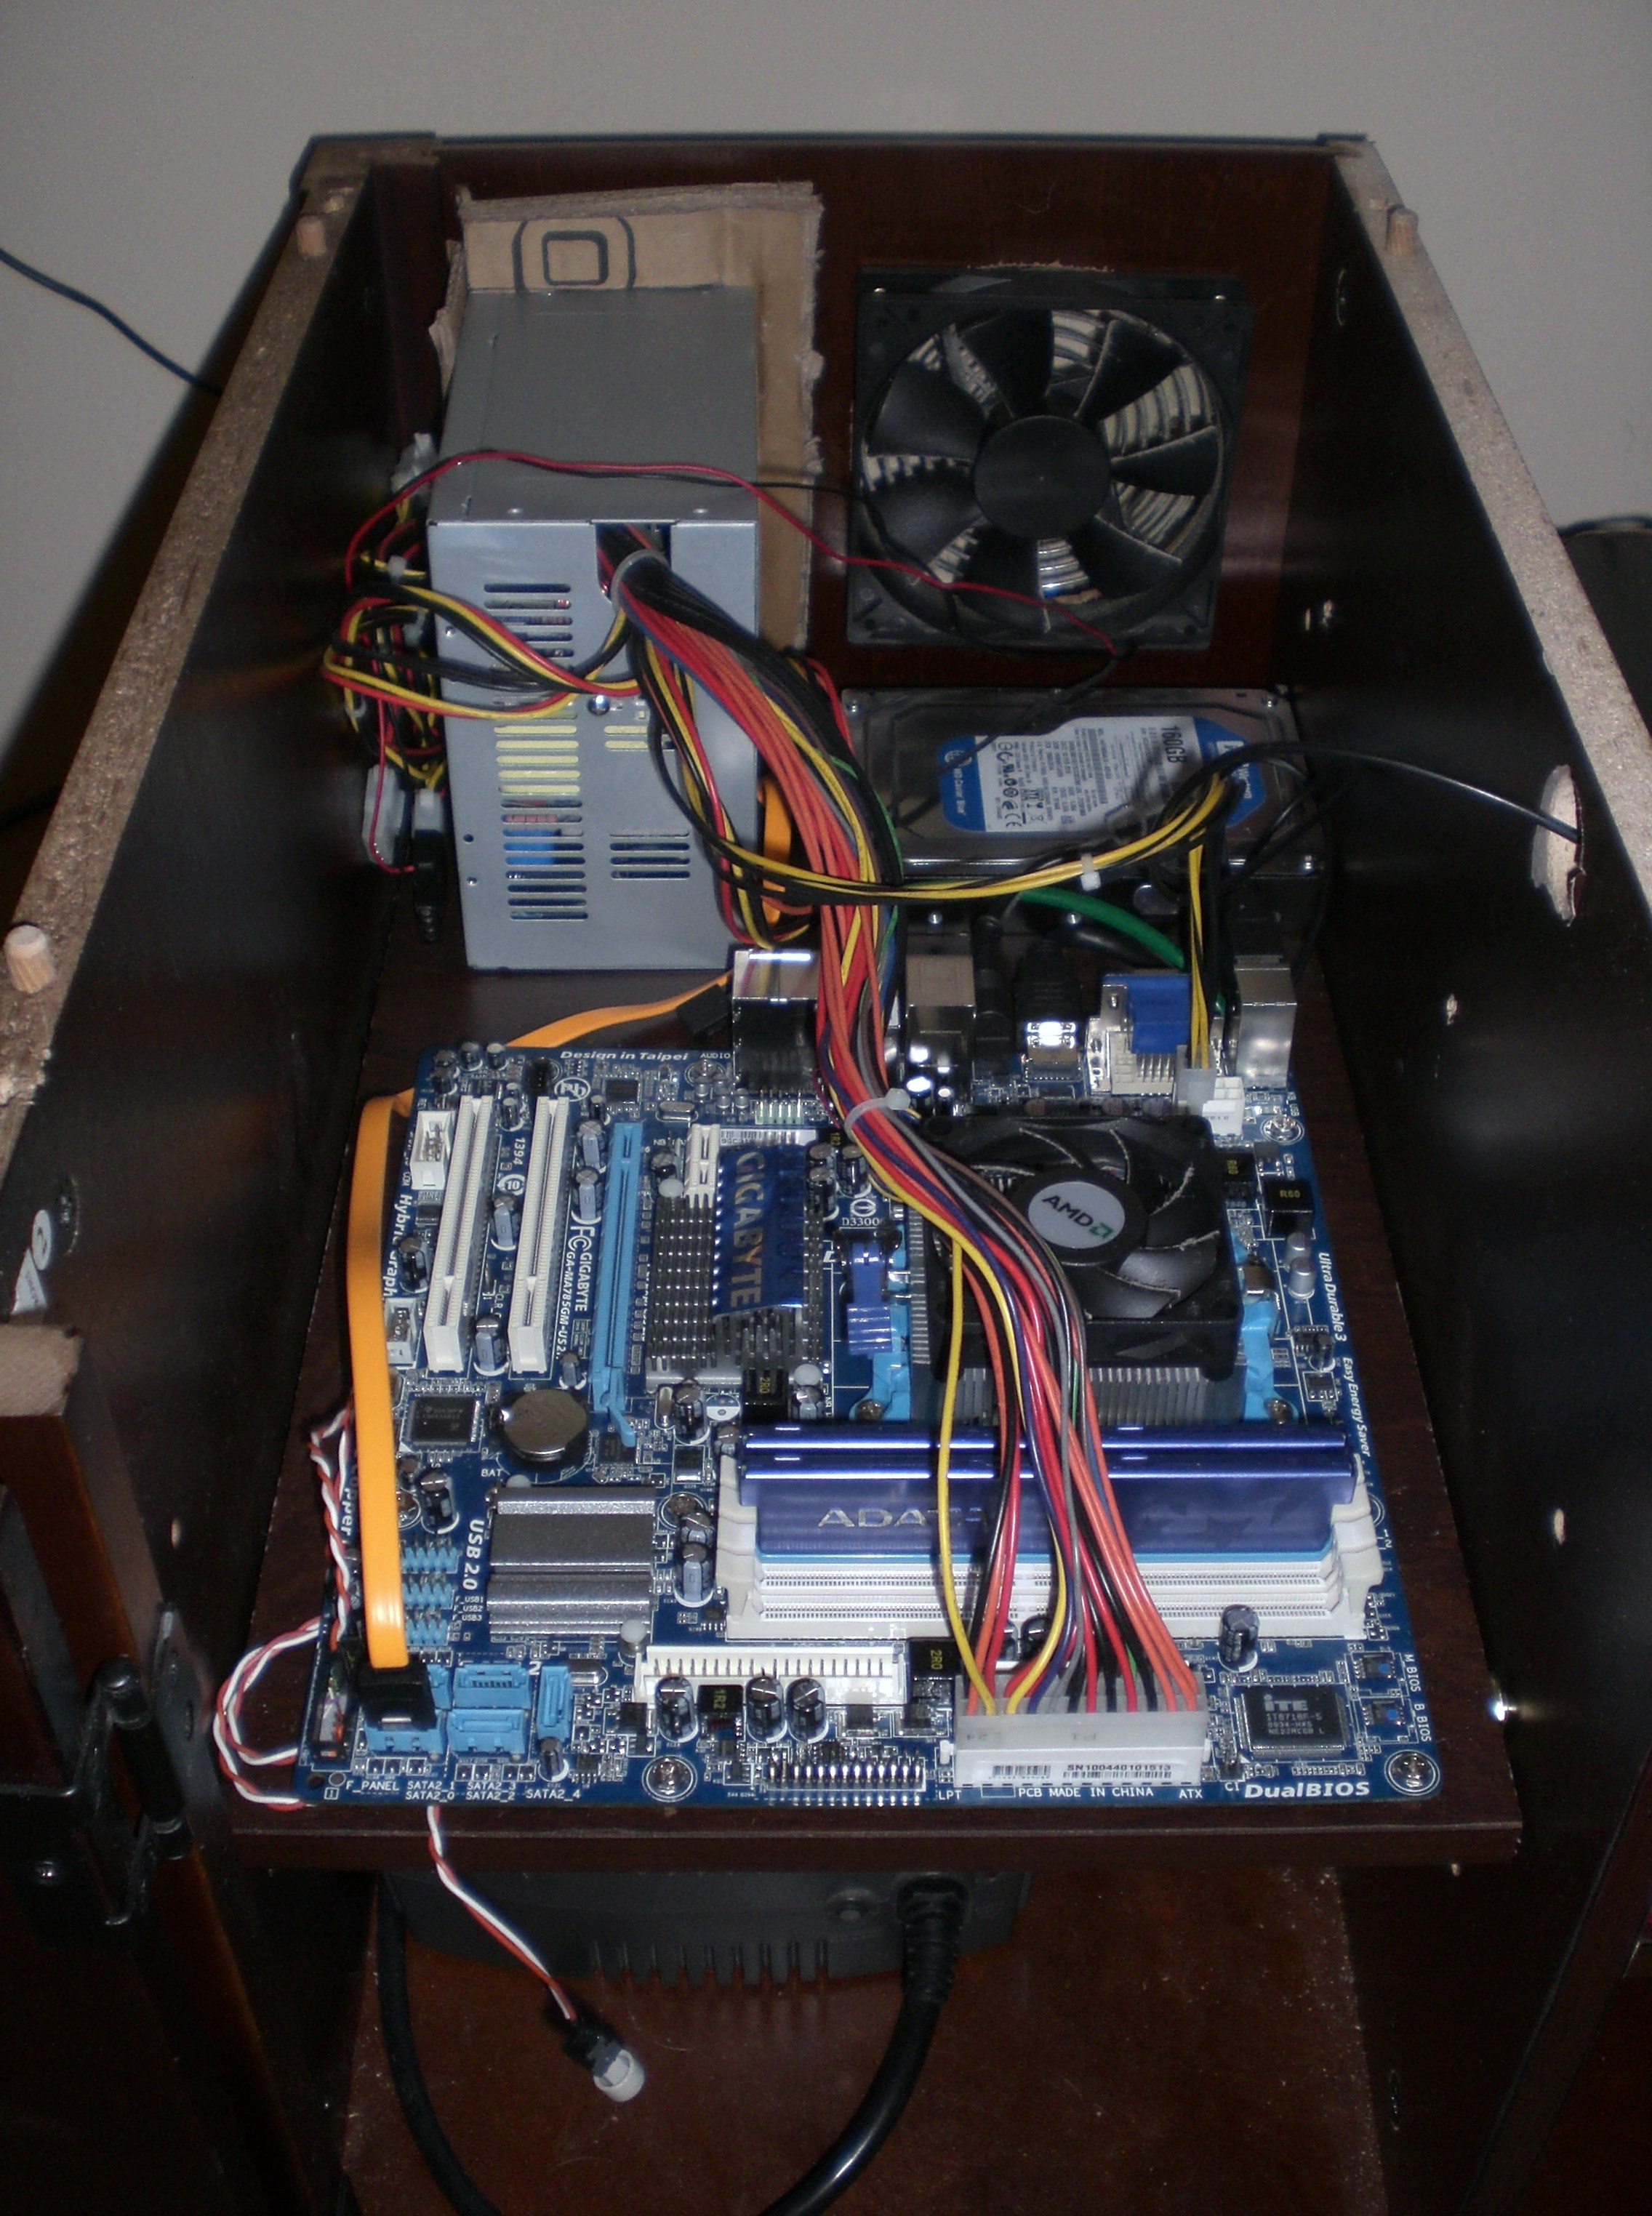
On the shelf we drilled out the holes for the motherboard stands and cable runs, and we shortened the shelf to proved a air flow path. On the back panel we cut out for the power supply, cooling fan and air filter. It was also necessary to recess the power supply a bit for clearance 0n the back of the cabinet.
After reassembling the cabinet, the components are installed and connected.
Extras
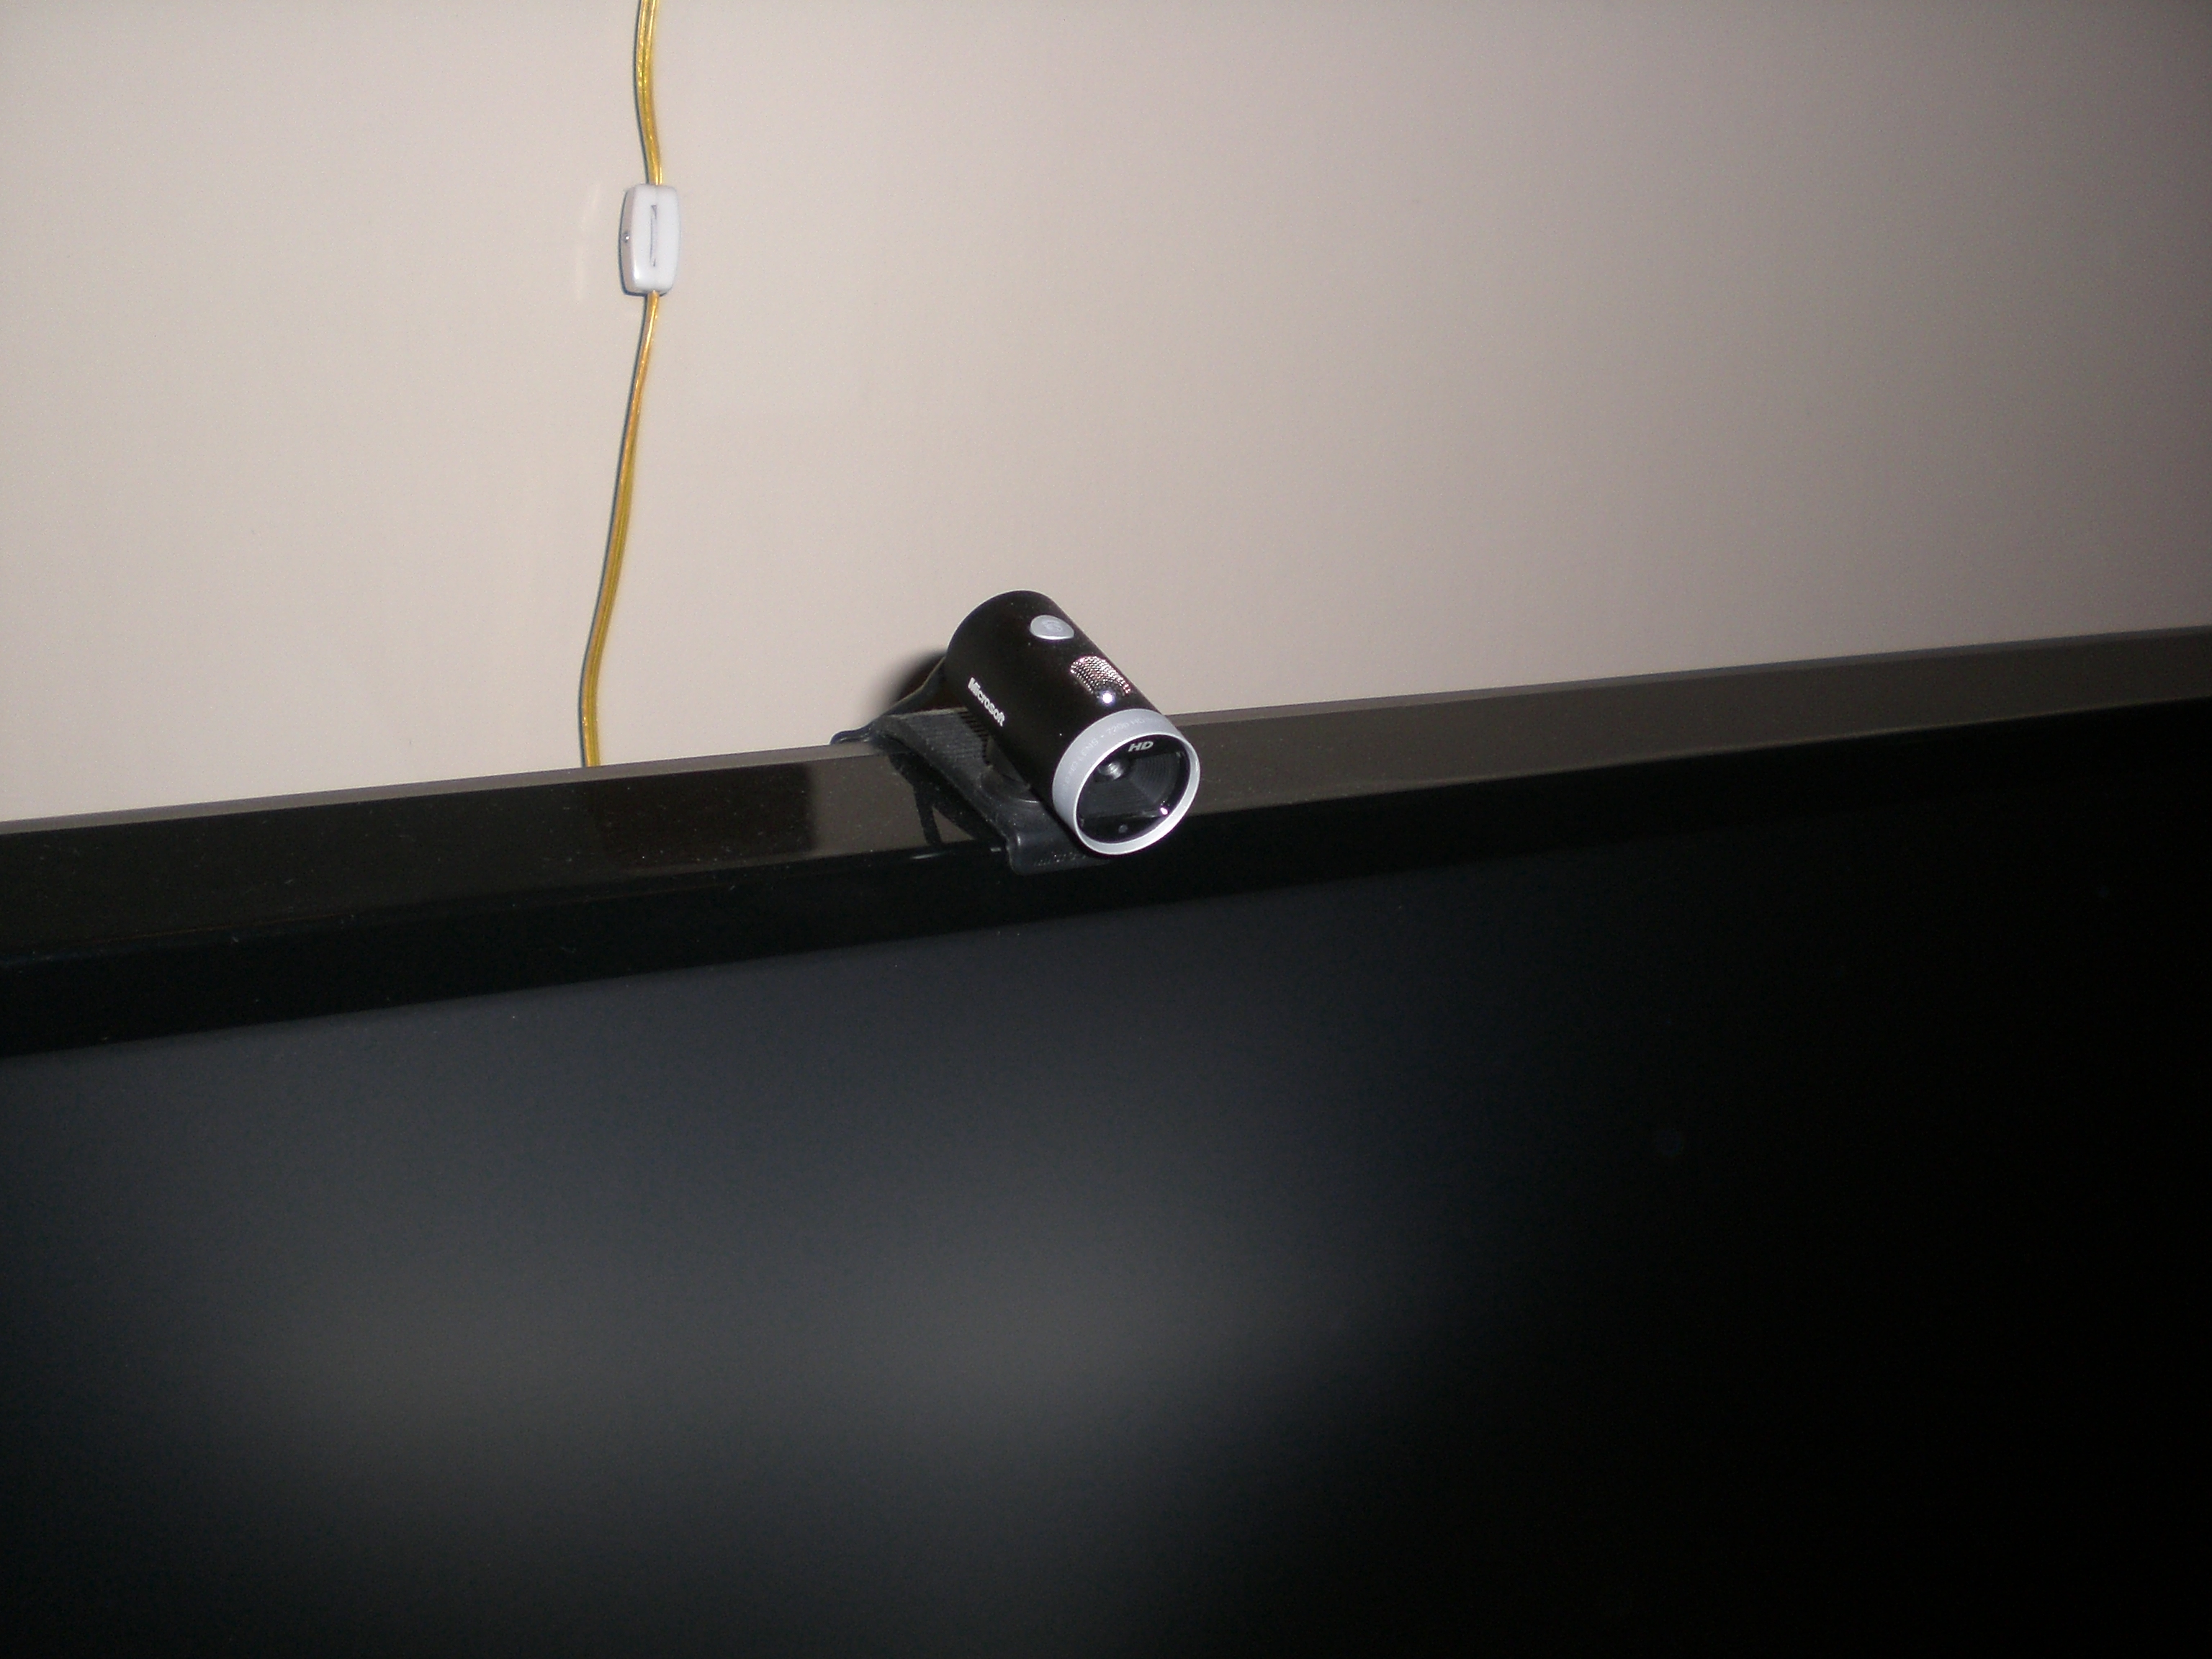
After the setup was done, we added a webcam for video conferencing. This was a big hit and the kids love chatting with Grandma and Grandpa on the TV now.
In the future I’ll post on the software side of the HTPC.

