Part of taking your brewing to competition or professional level is having control over all aspects of it’s style. Like color, clarity is also a key aspect of beer style. Clarity is a well researched toping and there are mountains written on it already, so much so that it can be a hard topic to tackle. Since I’ve been getting lots of comments on the clarity of my beer lately, I though I’d share the three steps I use her win Bermuda to come out with really clear beer!
The Recipe
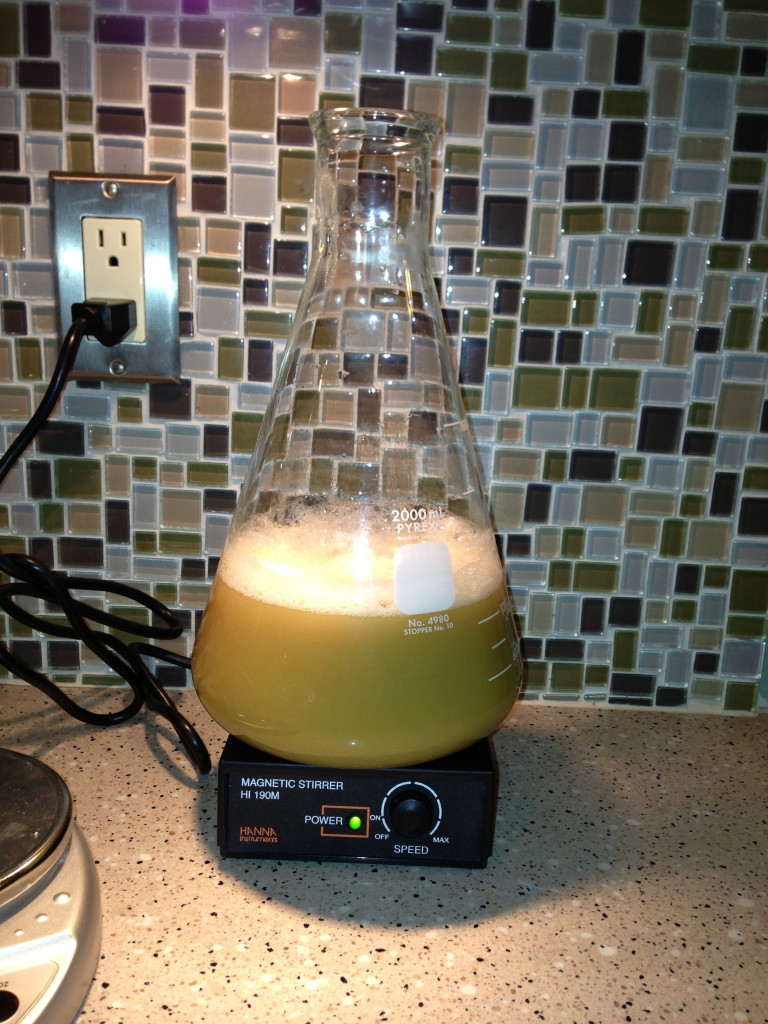
The first consideration for clarity starts with the grain bill for your beer. Brewing with rain water here we have to turn to the use of an acid (Acidulated) malt in the grain bill to adjust the pH of the mash. When a beer style calls for amazing clarity, it helps to get the mash as close to 5.2 pH as possible. The reason is that higher pH levels are associated with more phenol and protein extraction to the wort which lead to more clouding. In order to achieve 5.2 pH, the addition of acid malt (or other acid) is necessary to push the pH down. A pH meter will help greatly here and is an inexpensive tool to have in your brew kit to monitor your mash pH.
While typically I add 2% acid malt by weight to the bill, for a really clear beer style I’ll add additional acid malt to the mash and monitor it with my pH meter.
The Hot Side
This fining step is one that even first time brewers have heard of, adding Irish Moss or a Whirlfloc tablet to the end of the boil to assist in coagulating proteins and tannins when you do chill your wort. Both of these finings are based on Carrageenan, a positively charged chemical that is effective on proteins, tannins and also hop matter.
I prefer Irish Moss as it’s less expensive and works just as well as other fining options. I add 1 tsp per 5 gallons to the last 10-15 minutes of the boil, just like every beginning to brew manual will tell you to! 😉
The Cold Side
The last step in creating amazingly clear beer for me is fining with gelatin. This is last step that is invaluable in clearing the beer quickly, typically in 24-48 hours. Fining with gelatin isn’t difficult, but it does require a few specific steps. Here’s the process I’ve had success with.
Rack your beer in to a keg and then cold crash that keg down with 32F-38F degrees. Mix 1 tsp gelatin with 2/3cup of water (per 5 gallons of beer) at 150F-155F to dissolve and then simply pitch it in the beer.
This would work the same if your bottled, you’d just rack the beer in to a secondary fermenter and cold crash that. Add the gelatin and then wait 24-48 hours before bottling. The gelatin works very quickly and is effective at dropping yeast and a lot of the haze-forming particulates out of the beer. Don’t worry, there will still be enough yeast in the beer to carbonate the bottles.
One Last Note
While gelatin does wonders at clearing beer, the age old method of cold conditioning will make your beer to truly sparkle like a commercial brew. When fining my beer with gelatin I’ll give it at least a week or two in the keezer before serving.